How to Build a Link Tree for Instagram
If you’ve come here looking for instructions on how to make a link tree for Instagram, you probably already know that Instagram has pretty restrictive policies when it comes to sharing links.
The platform doesn’t allow adding links to feed posts — other than Stories, the bio section is the only place where all Instagram users get to add a link. One link, to be precise.
Link trees allow you to make the most of this precious real estate. By creating a link tree for Instagram, you turn your one bio link into a hub for, well, more links. And with more links, you can direct traffic exactly where you need it — be it your store, a signup form, a new piece of content or an important business update.
Keep reading for step-by-step instructions on how to build a link tree for Instagram plus some inspiring examples of great link trees.
What is an Instagram link tree?
An Instagram link tree is a simple landing page, accessible from your Instagram bio, that includes several links. These can lead to your website, store, blog — or anywhere you wish.
Since most users access Instagram link trees from their mobile devices, link tree landing pages should be easy to navigate. Most simply feature a few bold buttons.
Now that you know what a link tree is, and why it’s worth your while, it’s time to build one!
We will go over the two ways to build an Instagram link tree:
- Using Linktr.ee, a specialized tool for building Instagram bio links.
- Building a custom landing page.
Let’s get started!
How to make an Instagram link tree with Linktr.ee
Step 1: Create an account
Go to linktr.ee/register, and fill in your information. Then, check your inbox and follow the instructions in the verification email.
Step 2: Add links
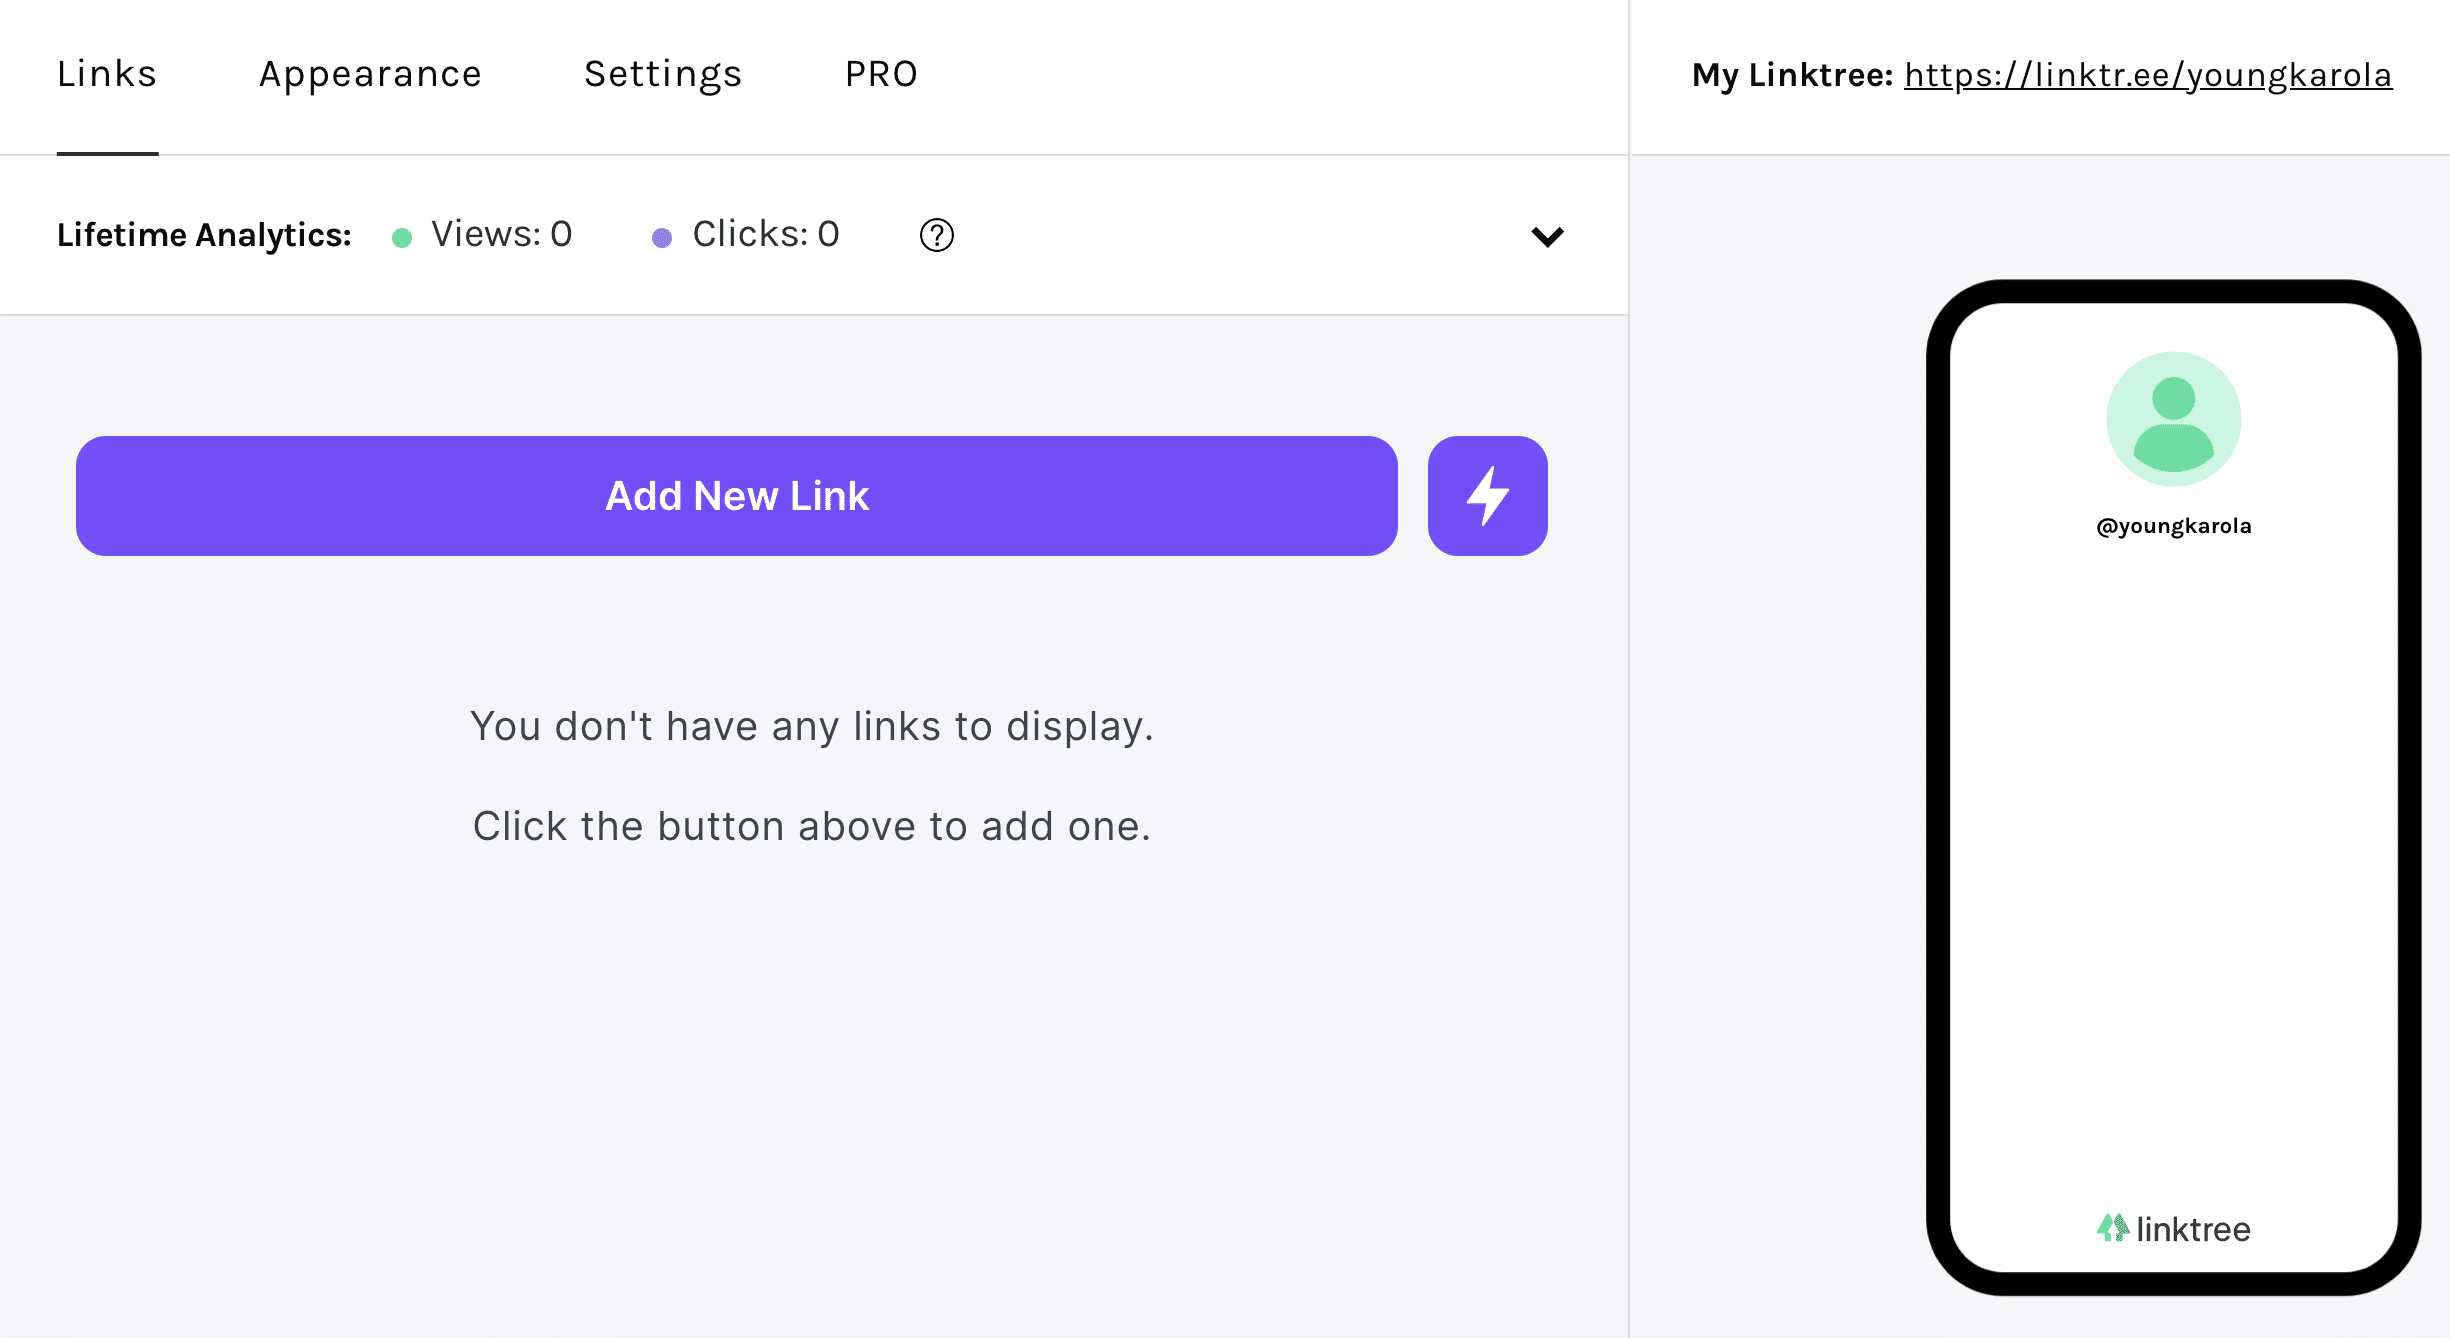
Once you verify your account, you will be able to access your dashboard.
Click the purple Add New Link button on the home screen to add your first link
You will then be able to add a title, a URL and a thumbnail to your link. You can upload your own image or choose one from Linktree’s icon library:
And that’s it! Repeat the process until you’ve added all of your links.
Step 3: Organize your links
Click on the purple lightning icon to add special links or headers. Headers will help you organize your links by theme or purpose.
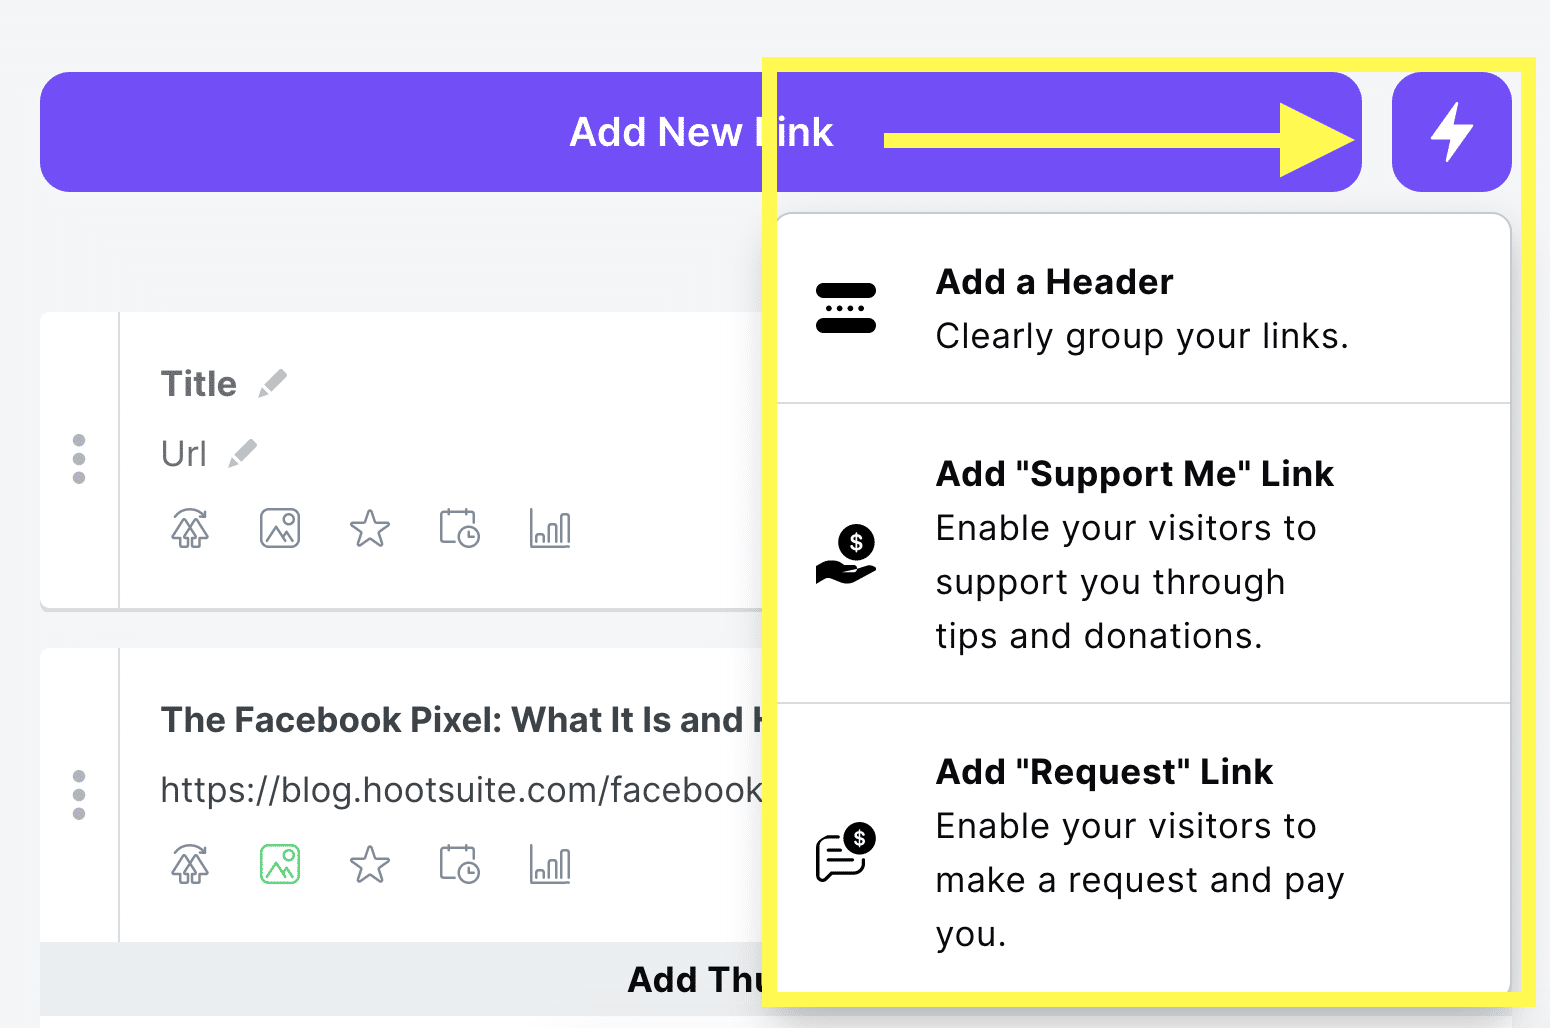
At any point, you can move your links and headers around by clicking on the three vertical dots icon and dragging the element to its new placement.
Step 4: Customize the appearance of your link tree
With all the links in place, it’s time to make your link tree truly yours.
Start by heading to the Appearance tab in the top menu.
Here, you can add an image and short description to your link tree page. You can also change your link tree’s theme. Several free options are available. Pro users can create their own custom themes.
You’re all set. Now that you have your custom link tree ready to go, it’s time to add it to your Instagram bio. Simply copy the URL from the top right corner of the dashboard:

.png)
Comments
Post a Comment