Before you can set up Instagram Shopping, you need to ensure your business checks a few boxes for eligibility.
Your business is located in a supported market where Instagram Shopping is available.
You sell a physical, eligible product.
Your business complies with Instagram’s merchant agreement and commerce policies.
Your business owns your eCommerce website.
You have a business profile on Instagram. If your account is set up as a personal profile, don’t worry — it’s easy to change your settings to business.
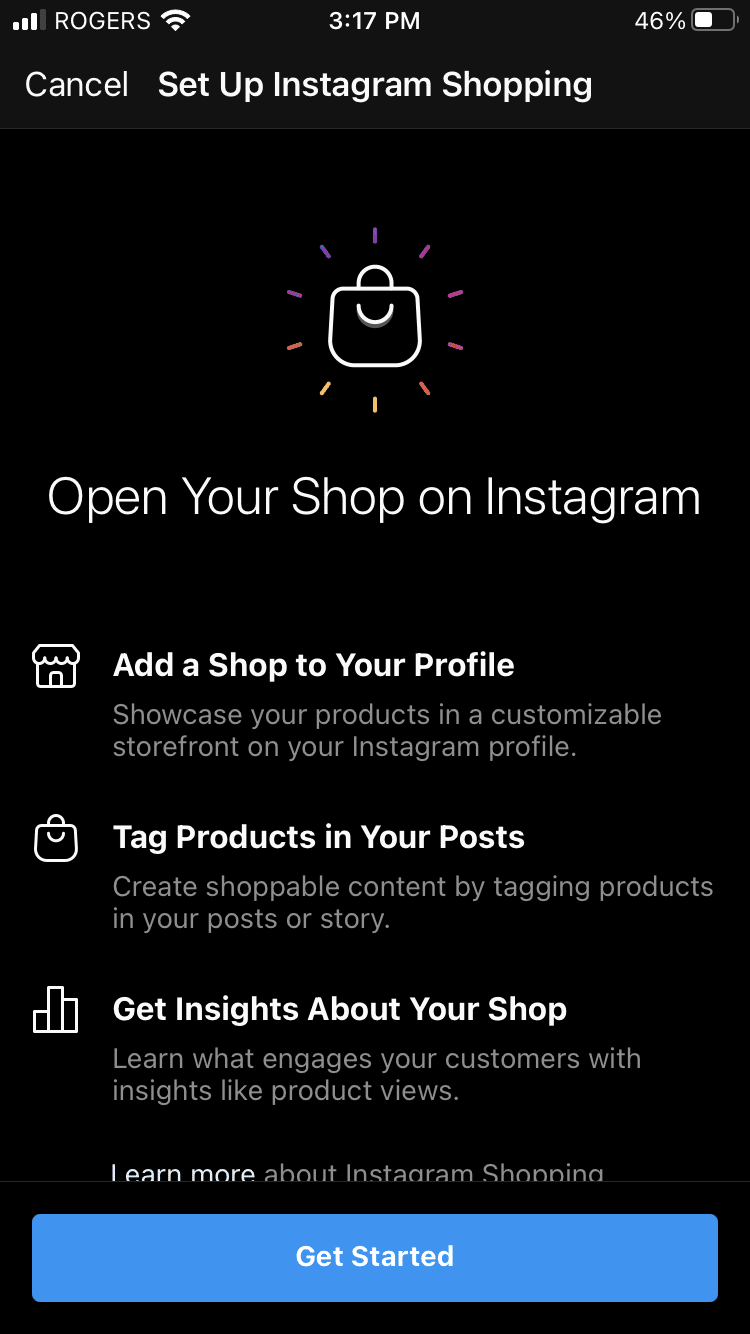
Step 2: Use Commerce Manager to set up a shop
1. Use Commerce Manager or a supported platform to set up a shop.
2. To choose a checkout method, select where you want customers to complete their purchases.
3. To choose sales channels, select the Instagram business account you want to be associated with your shop.
4. If you have a Facebook Page, check the box next to your account to have a shop on both Facebook and Instagram.
Step 3: Connect To a Facebook Page
If you have a Facebook Page, you’ll want to connect it to your Instagram Shop to make things flow smoothly. You’re no longer required to have a Facebook Page to set up an Instagram Shop, but if you want to, here’s how to set one up in seven easy steps. I’ll wait.
Step 4: Upload your product catalog
Okay, this is the part where you actually upload all of your products. You’ve got a couple of different options here. You can either input every product manually into Commerce Manager, or integrate a pre-existing product database from a certified eCommerce platform (like Shopify or BigCommerce.)
Option A: Commerce Manager
1. Log into Commerce Manager.
2. Click on Catalog.
3. Click on Add Products.
4. Select Add Manually.
5. Add a product image, name, and description.
6. If you have an SKU or unique identifier for your product, add it within the Content ID section.
7. Add a link to the website where people can buy your product.
8. Add the price of your product that is shown on your website.
9. Select the availability of your product.
10. Add categorization details about the product, like its condition, brand, and tax category.
11. Add shipping options and return policy information.
12. Add options for any variants, like colors or sizes.
13. Once you’re done, click Add Product.
Option B: Integrate an Ecommerce Database
1. Go to Commerce Manager.
2. Open the Catalog tab and go to Data Sources.
3. Select Add Items, then Use a Partner Platform, then hit next.
4. Select your platform of choice: Shopify, BigCommerce, ChannelAdvisor, CommerceHub, Feedonomics, CedCommerce, adMixt, DataCaciques, Quipt or Zentail.
5. Follow the link to the partner platform website and follow the steps there to connect your account with Facebook.
Step 5: Submit your account for review
At this point, you’ll need to submit your account for review. These reviews usually take a couple of days, but sometimes it might run longer.
1. Go to your Instagram profile settings.
2. Tap Sign Up for Instagram Shopping.
3. Follow the steps to submit your account for review.
4. Check the status of your application by visiting Shopping in your Settings.
Step 6: Turn on Instagram Shopping
Once you’ve passed the account review process, it’s time to connect your product catalog with your Instagram Shop.
1. Go to your Instagram profile settings.
2. Tap Business, then Shopping.
3. Select the product catalog you’d like to connect with.
4. Tap Done.

.png)
Comments
Post a Comment